
In this tutorial I will teach you how to draw a stereogram (also known by its trademark name "Magic Eye"). I will be using mspaint and only mspaint.
Yes.
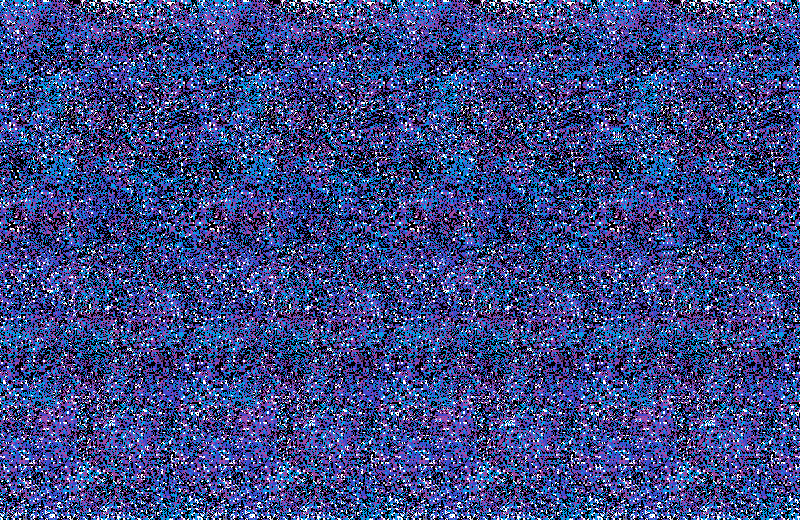
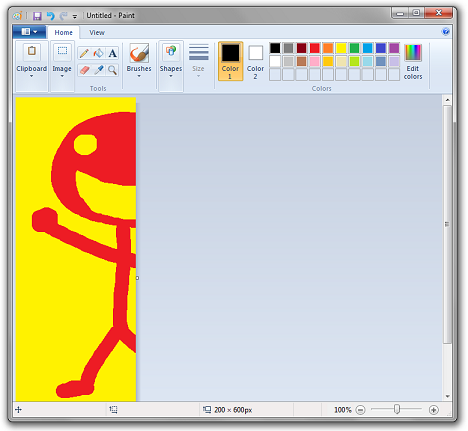
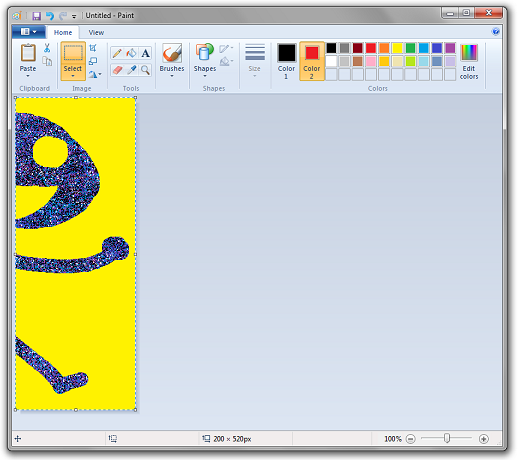
The final image will look like this (there's a sloppily-drawn stick figure in the center of the image):
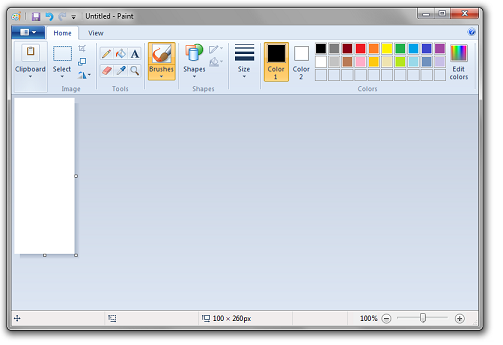
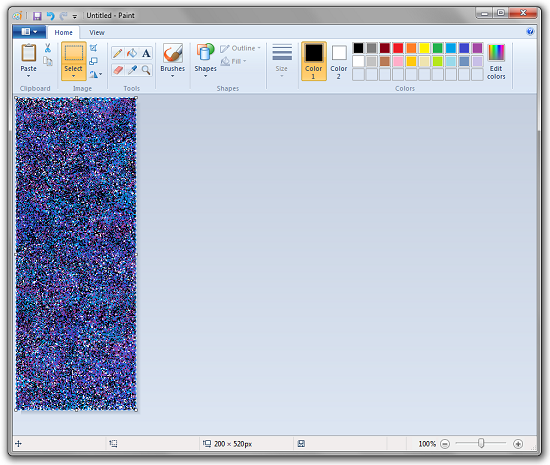
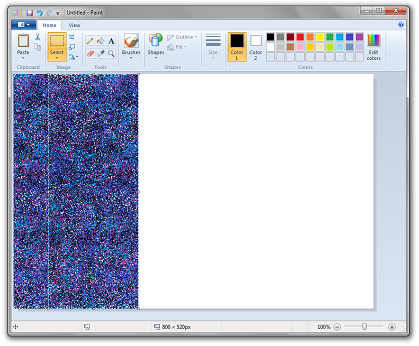
I've created a blank image that's 100 pixels by 260 pixels. (You can adjust the image size in the image attributes window which is accessible via Ctrl + E)
Take the airbrush tool (you can find it in the brushes toolbox on the Windows7 version of mspaint) and spray it with another color.
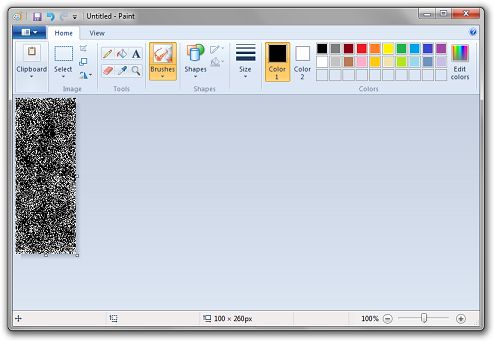
Repeat with two or three more colors.
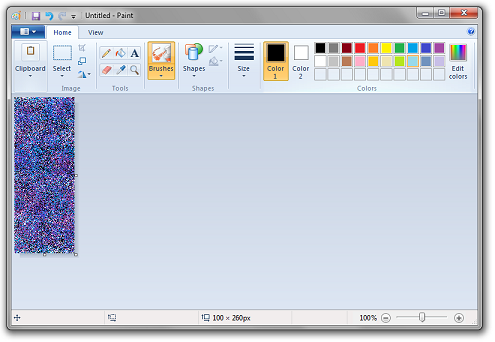
It is essential that you make evenly distributed coverage e.g. you don't want to spray too much blue on the left but not too much on the right. You will eventually be tiling this image and you don't want there to be clearly visible seams. If you want to ensure the image tiles well, there is a trick you can do. Copy the image, move it to the left 50 pixels, then paste a copy and place its left edge against the right edge of the underlying image. Then use the airbrush to touch up the seams. You don't have to do this if you're pretty confident with the evenness of your colors, but it might be a good idea the first few times you try this.
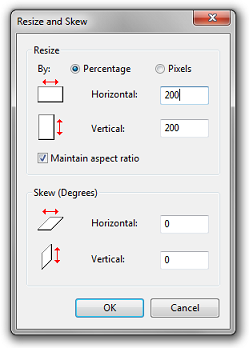
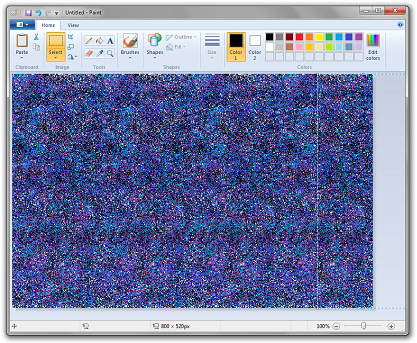
Done? Now make it twice as big. (you can access this Stretch and Skew by pressing Ctrl + W)
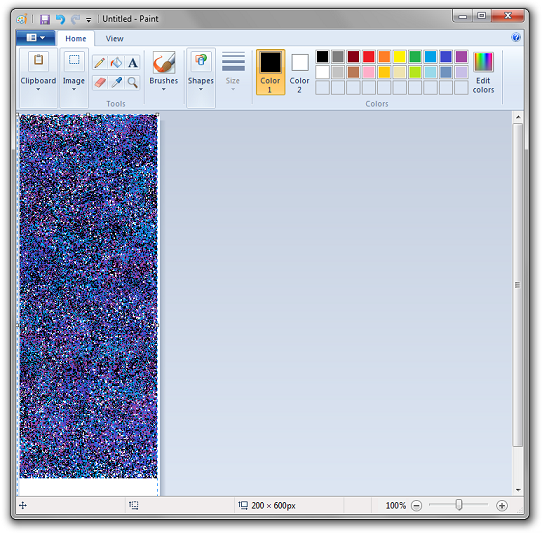
Now you have a sea of 2x2 dots.
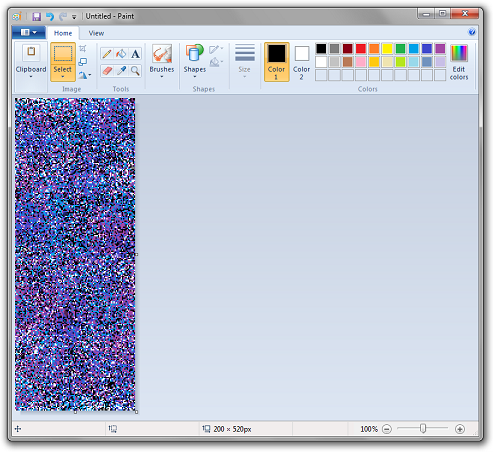
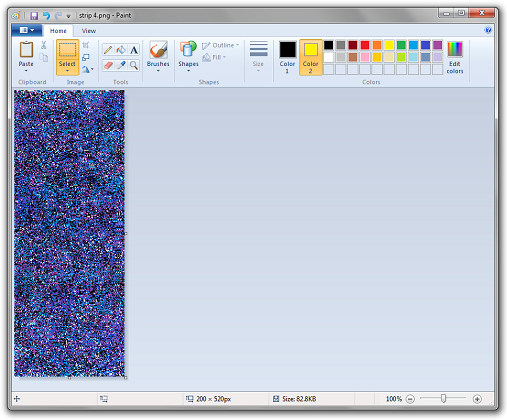
Respray it with the air brush.
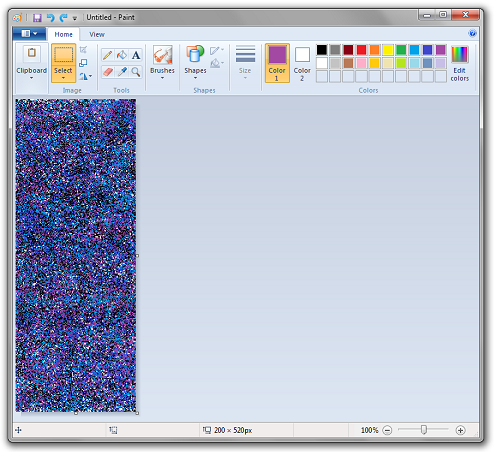
This gives it that authentic magic-eye static texture.
Save this image as "strip 1.png".
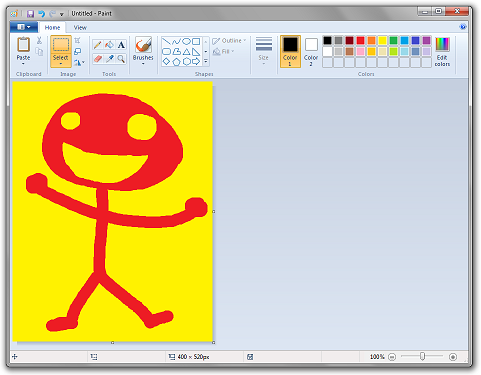
Alrighty, then. Open another mspaint window and draw whatever you want. Use a two colors as background and foreground colors. These two colors must not be any of the colors that exist in your dots image. Also, it is essential that you use the pencil tool instead of the paintbrush tool (if you're using Windows 7. Windows Vista and lower, you're safe to use whichever tools you want) because you will need to filter out these colors using background transparency which you won't be able to do with anti-aliased edges.
Note: the width of this image divided by the width of your dots image (round up the decimal) will be the number of times you will have to do a long and complicated step later on. So don't make it too wide unless you really want to. This image is 400 pixels wide which is exactly twice the width of the dots image. The height should be identical to the dots image height.
In a new window, copy and paste the image. Then set the image width to 200 which will crop off the right portion.
Go back to the original image and flip it horizontally.
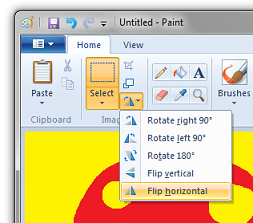
Go into the image attributes menu and subtract 200 from the image width.
Flip it again.
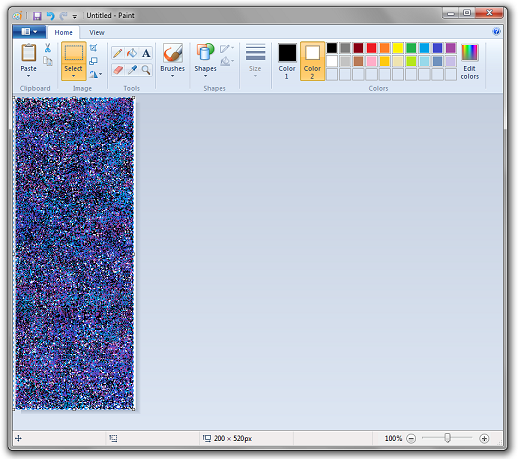
Now open a new window of mspaint (from this point out, every time I say "open a new window of mspaint" make sure the document is 200 x 520 pixels unless otherwise stated).
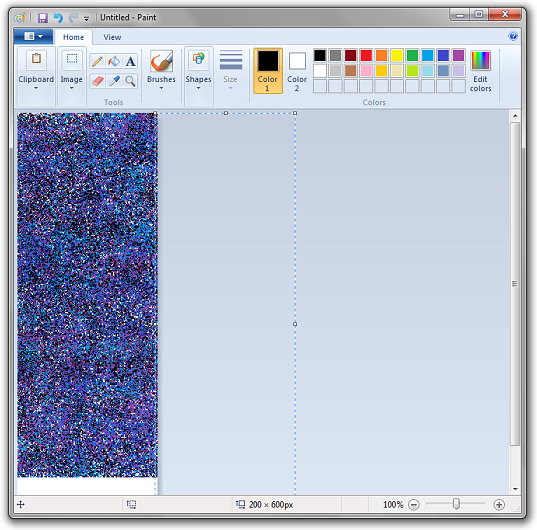
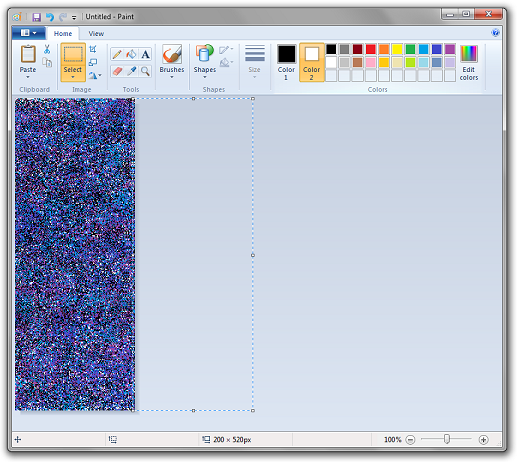
Copy and paste the contents of "strip 1.png" into this new window and move it to the LEFT by FOUR pixels. The ultimate effect of this will make your drawing pop out of the image by a distance that is roughly perceived as four pixels. If you want it to pop out more, you can move it further. If you want it to appear like it's depressed into the page as opposed to popping out, then move it to the right instead. However, 4 is a good number and I want it to pop out in this particular instance. So I'll be moving it to the left by 4 pixels. Feel free to experiment.
Paste another copy of strip 1 and put the left edge against the right edge of the image so that it is tiled and there is no 4-pixel-wide white gap along the right edge.
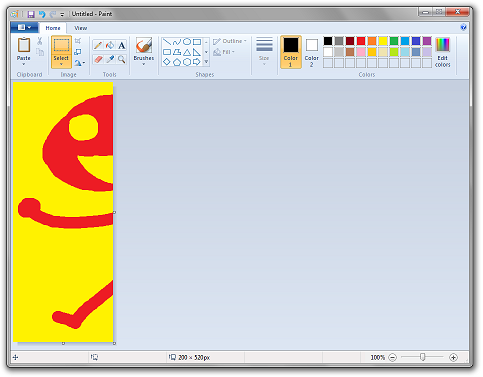
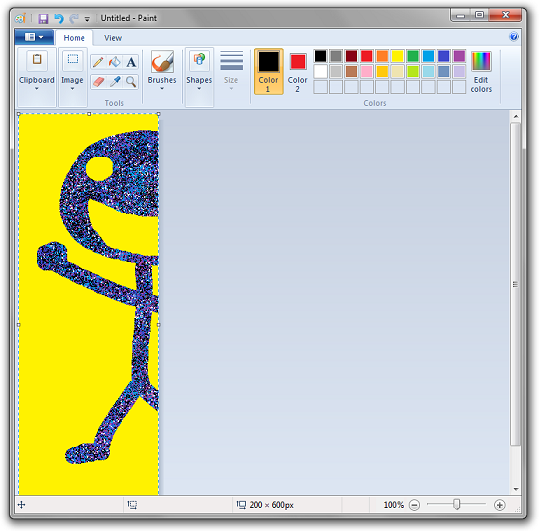
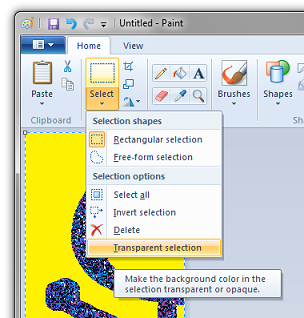
Now paste the first slice of the drawing on top of this image. Set the currently selected background color (or "Color 2" as the Windows 7 version likes to call it) to whichever foreground color you picked for your drawing. Then in the select menu, choose "Transparent Selection".
Transparent selection is located here, in case you were looking for it:
Open a new window of mspaint (oh, there are plenty more to go). Copy and paste the contents of strip 1 into this new window.
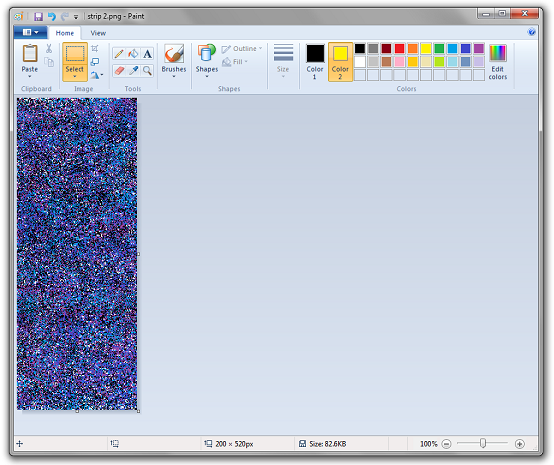
Now copy and paste the yellow background drawing from the previous window into this new window. Set the background color to yellow and ensure "Transparent Selection" is enabled here, too. Save this as "strip 2.png".
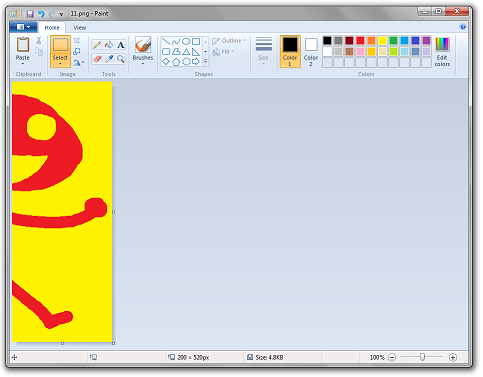
Now repeat the whole process again using the 2nd piece of your image and using strip 2 as a base instead of strip 1. Paste the contents of strip 2 into a new window of mspaint and move it to the left by 4 pixels.
Paste another copy of strip 2 and tile it to file the gap.
Paste the 2nd half of your drawn image over this with red as the transparent selection color.
Open a new window, copy and paste the contents of strip 2. Then copy and paste the contents of the previous window with yellow as the background selection color.
Save the image as "strip 3.png" and "strip 4.png". Or just save one image and remember that it's both strip 3 and 4.
We're almost done!
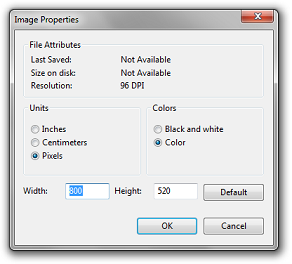
Open a new window of mspaint (last one, I promise) and adjust the size to 800 by 520.
Paste the contents of strip 1 and move it to the left a about half of its width.
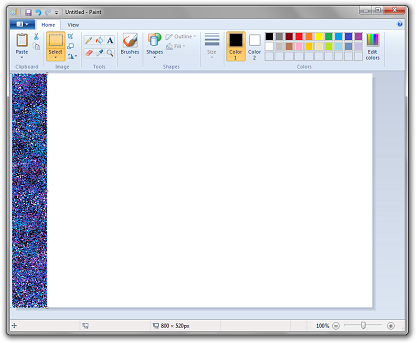
Now paste strip 1 again and tile it next to the edge of the other strip.
Now copy and paste strip 2 next to that. Then 3. Then 4.
And now you're done! Click here to see the final product.