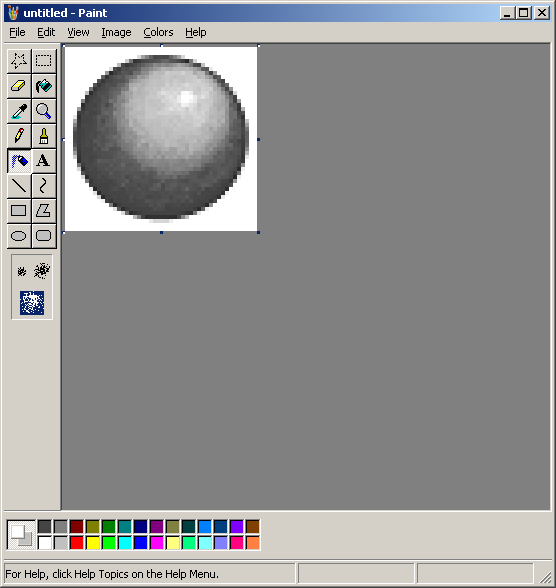
Ever want to draw a perfectly shaded sphere in MSPaint? Of course you have! So that's what we're going to do today.
The secret is to use the built in color interpolation within mspaint. Yes. MSPaint has color interpolation. You can only use it by shrinking images down. When it scales an image down, it samples some area of pixels to determine what the color of a particular pixel in the smaller version will be. It takes the average. The basic approach is to draw something HUGE and use the air brush to blend it. Once you scale it down to the desired size, you get the whole range of blended colors.
So let's get to it!
First change the black in your palette to a dark gray. You can do this by double-clicking on the black and it'll pop up a color editing menu. There'll be a button that says "define custom colors". Typically an RGB value of triple 60 or 70 does nicely.
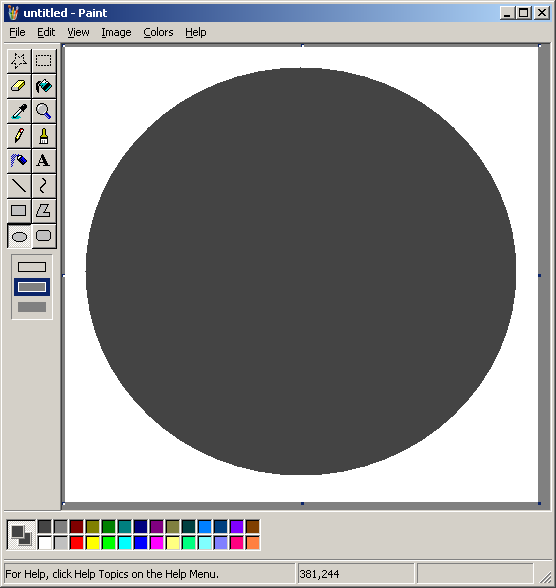
Now, using this color draw a large, filled circle that is 10 times the size you want your sphere to be. You can do this by selecting the ellipse tool and choosing the filled option on the left. Make sure the dark gray is selected for both the foreground and background color.
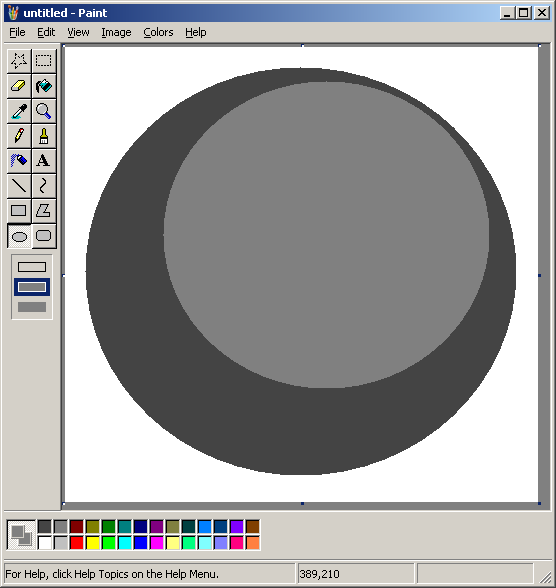
Now select the darker of the predefined shades of gray. Draw another circle inside your other circle, but slightly off-center. This is where the shine will be.
Continue drawing off-center circles of decreasing size and increasing brightness until you get up to white. Even though they are off-center, make sure they are all off-center in the same direction.
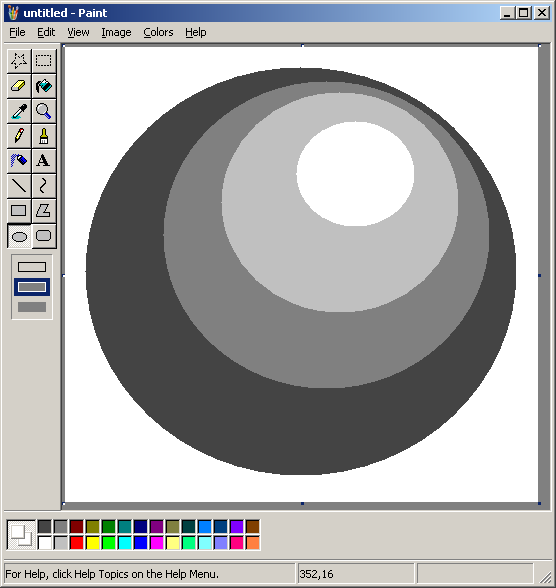
Now select the airbrush and adjust the spray size to the larger of the 3 size options. Select the two dark grays as your two colors so that clicking one mouse button will spray the darkest gray and the other mouse button will spray the other gray. By tracing over the "border region" between the two dark grays over and over again with the spray can, blend the two colors together like so. Take your time. Make it as perfect as you can.
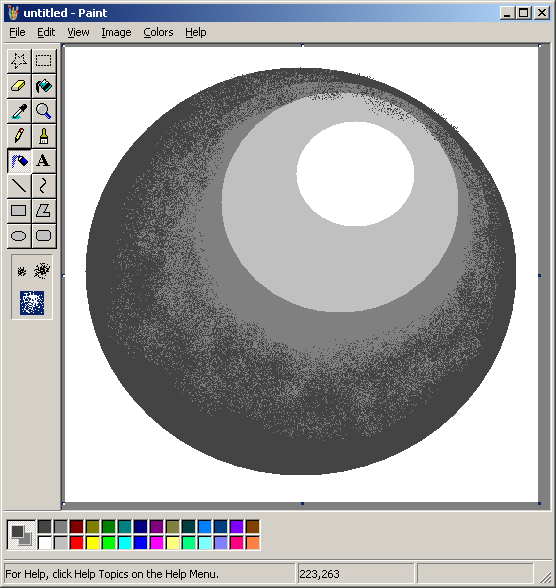
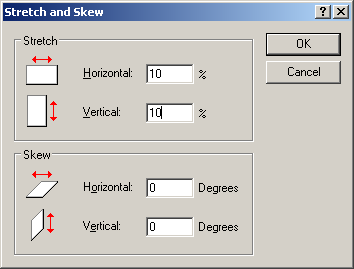
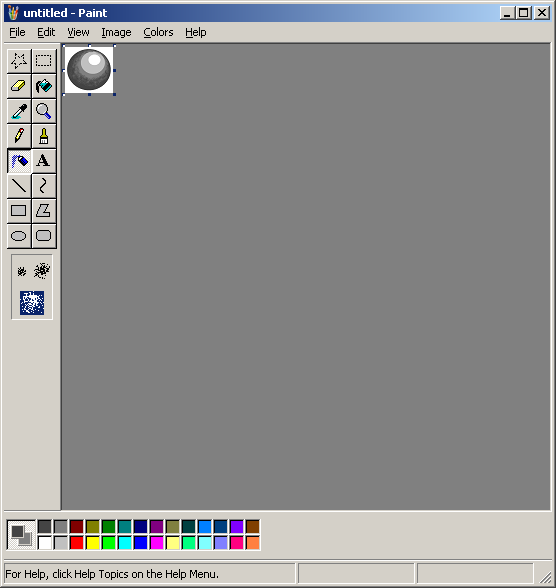
For a preview of what your final product will sort of look like, shrink the image size down to 10% by pressing Ctrl+W and entering 10 in the two strecthing fields. (This is why I said make it 10 times larger than you wanted it to be)
Yikes, kind of lumpy. Press Ctrl+Z to put it back to full size.
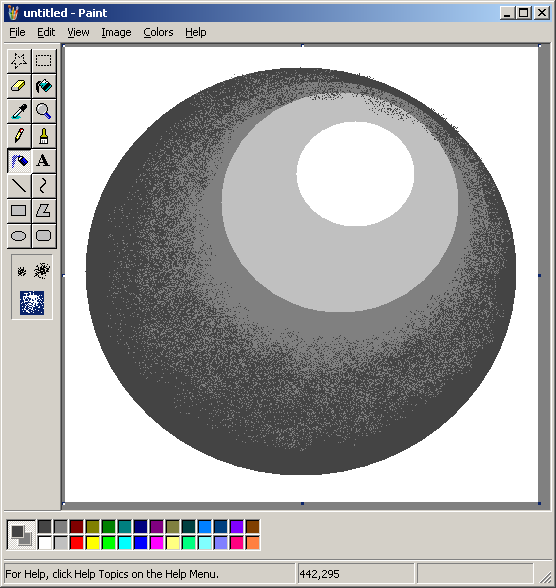
If your sphere shading is kind of lumpy also, then go back over the areas that aren't completely even with the spray can. Usually 1 or 2 quick clicks in areas where one color has too much dominance will fix the problem. This is better:
Now repeat the whole process, but move up a shade of gray...
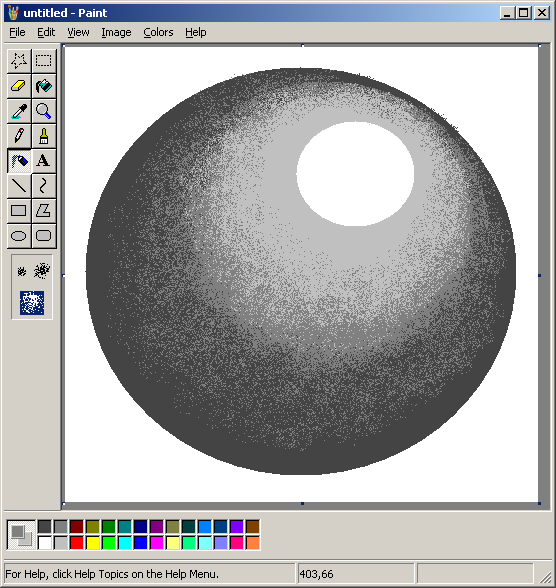
And then do it again...
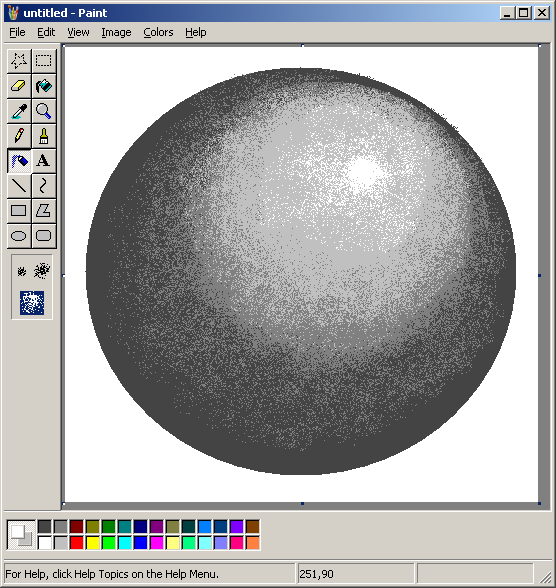
Now, using the Stretch and Skew menu, shrink your sphere down to 10% of it's size and you will have your final product. If it isn't the way you wanted it, press Ctrl+Z and smooth it out even more.
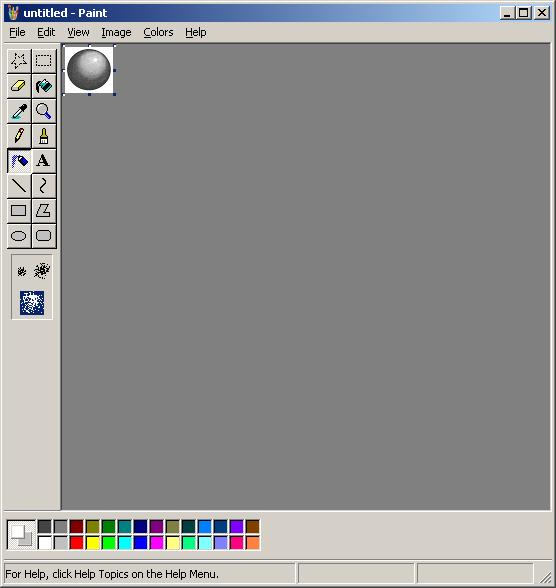
A close-up of the blendedness...
