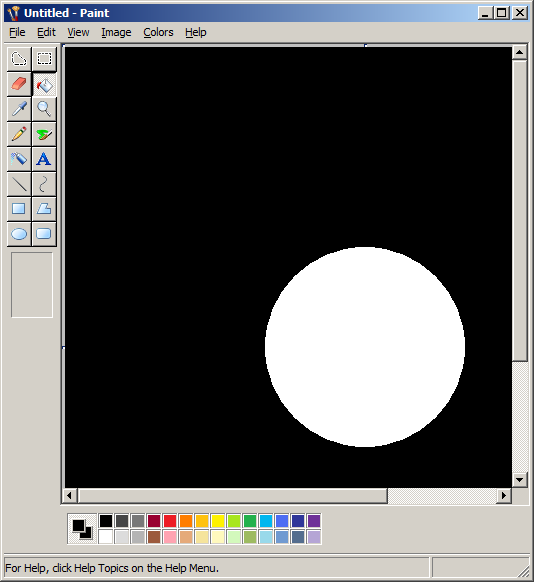
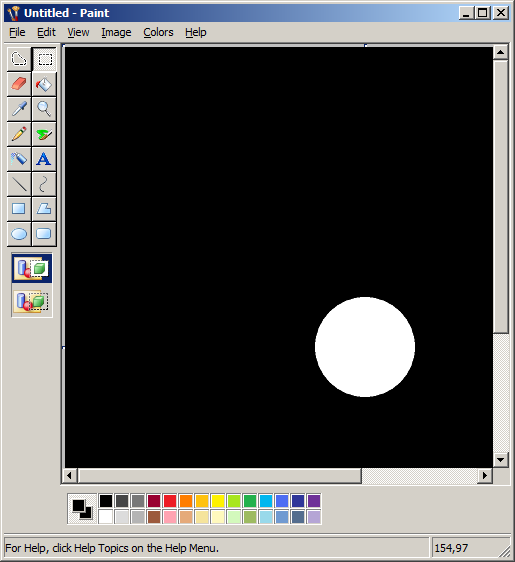
Pop open an instance of mspaint and set the canvas size to 200 by 200 pixels. This will be the ultimate size of the gradient for this tutorial, but if you want a different size, you can easily modify the calculations provided here. You can set the canvas size in the Image → Attributes menu. After you set it to 200 by 200, draw a circle with the circle drawy tool thing that touches all 4 edges of the canvas. Then fill it in with the bucket. Then press Ctrl + I to invert the colors so you have a picture like the one above.
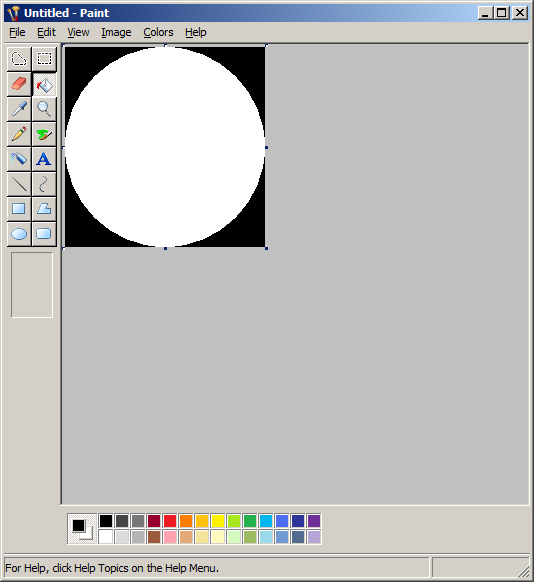
Then set your background color to black and change the canvas size again to 400 by 400 pixels.
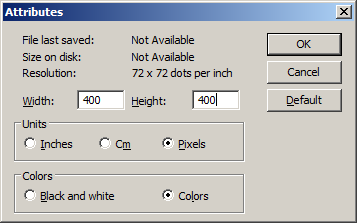
It'll look like this.
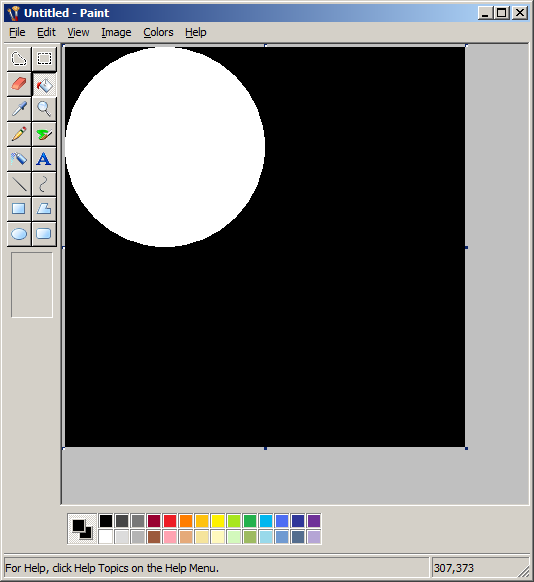
Flip the document by 180 degrees.
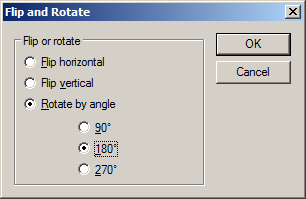
So that it looks like this.
If you've seen any of my other tutorials, you knew the next step would happen sooner or later...
Draw a 1200x1200 image of horizontal lines alternating between red and white. This can be done in about 30 seconds by following the technique outlined in this tutorial.
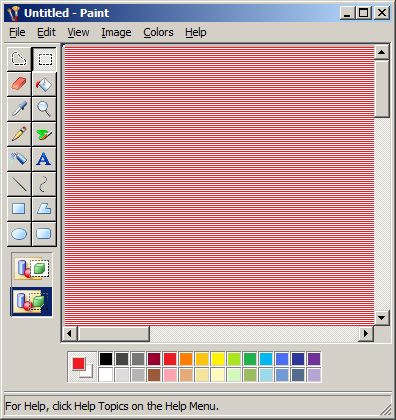
Now open a new instance of mspaint and copy and paste your circle into it. Make sure the canvas stays at 600 by 600 pixels. Then stretch the canvas size down by 50% with the Image → Stretch and Skew menu.
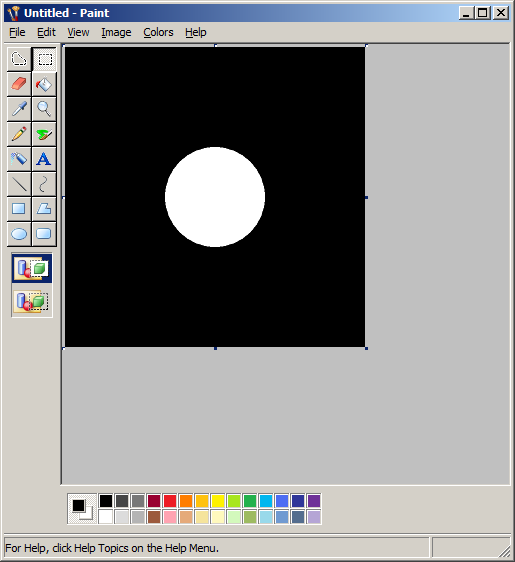
Your canvas is now 300 by 300 pixels. You want to get it back to 600 by 600 pixels, but you want the circle to stay in the center. We do this by setting the background color to black, and changing the canvas size to the midpoint of the current size and the desired size. In this case, we would set the canvas size to 450 by 450.
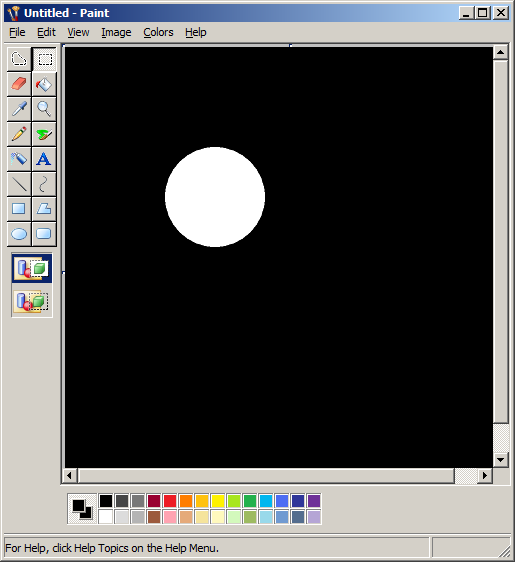
Now we have a 450 by 450 image with an off-center circle. We flip the image 180 degrees in the Image --> Flip and Rotate menu and then set the size to 600 by 600. Now we have a 600 by 600 picture with a centered circle that's slightly smaller than the original in the other window.
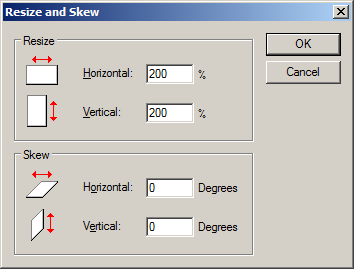
Stretch BOTH circle pictures by 200% in the Stretch and Skew menu. Make sure you don't have anything selected when you do this.
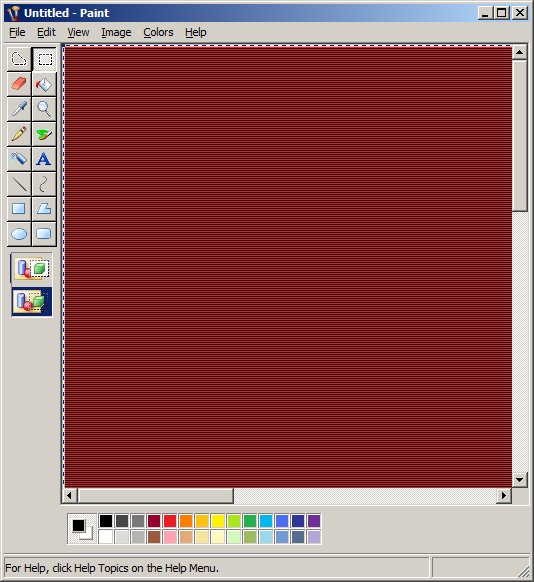
Copy and paste the horizontal lines onto one of the pictures. Set white as your background color and ensure that the "Draw Opaque" option in the Image menu is NOT checked.
Now Edit → Select All and re-copy this image and paste it onto the other circle. Ensure you background color is set to red and that the "Draw Opaque" option in the Image menu is not checked.
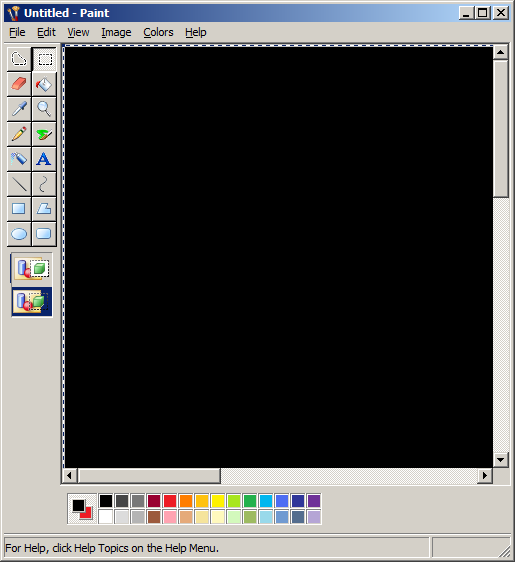
This gives you a picture that's twice the size of the original but each row is composed of lines of pixels that alternate from the two documents. Ensure nothing is selected and shrink this down by 50% in the Image → Stretch and Skew menu. This will interpolate color values and you should be left with something like the picture below.
MSPaint Bug: if your 50% stretch operation did not result in interpolated colors, then copy and paste your document into a new instance of MSPaint and try it again.
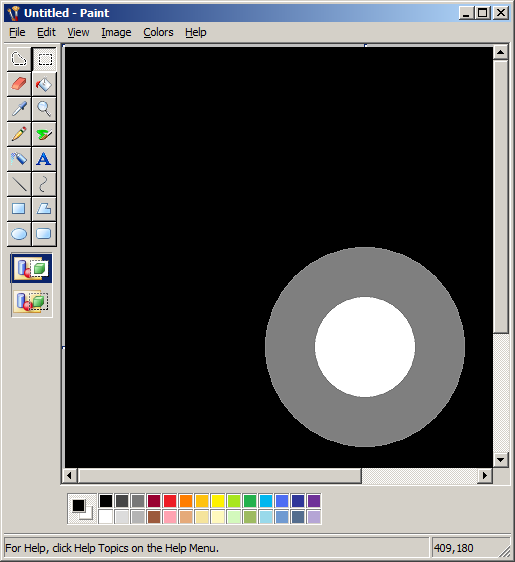
Now copy this image and paste it in both of your windows. To ensure that you don't paste your image into a 1200 by 1200 picture, set the Image size to 1 by 1 before pasting and it will stretch the document to 600 by 600 for you.
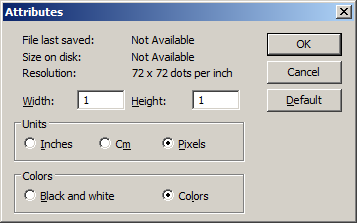
So now your other window looks like this also.
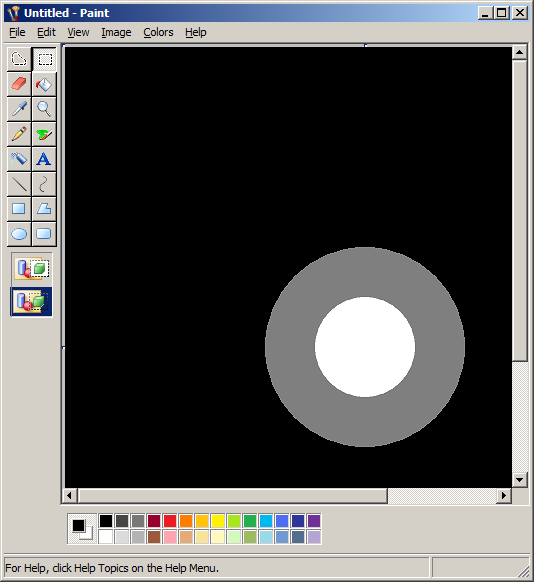
Remember the step where you had two identical white circles in two instances of mspaint? It was right before you shrunk one down by 50%. Go back to that step, except this time, shrink your image down to 75%. Repeat all the steps up to this point and your circle should look like this:
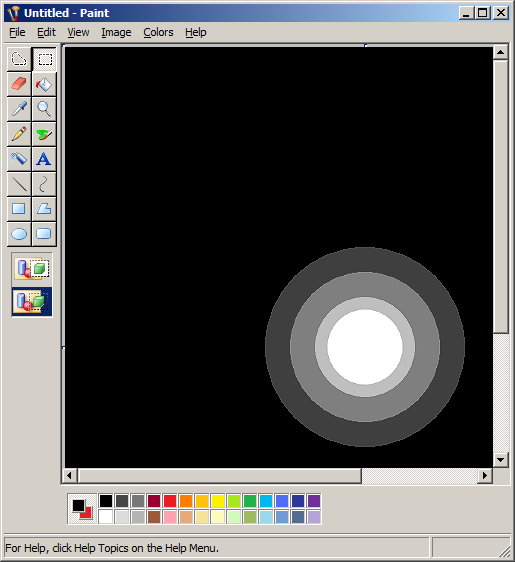
Now repeat that again, but use 82% instead of 75%.

Now use 91%
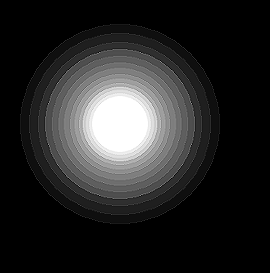
Now use 95%
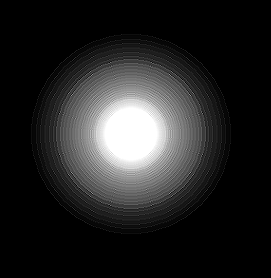
Now use 98%
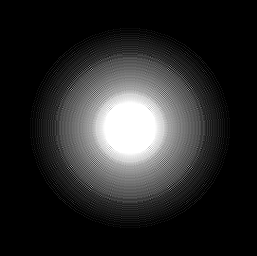
This is getting ugly and has a few scaling artifacts. Looking back, I now realize that I should have touched up the artifacts when I started to notice them. To get rid of them at the expense of a little graininess, we shrink the whole image down by 50%.
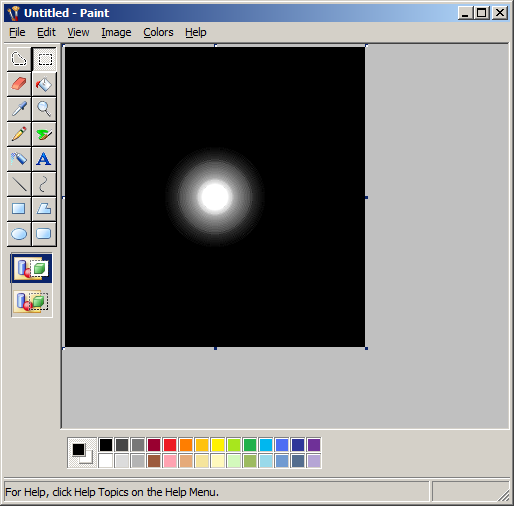
Then we scale it back up so that we're back to our 600 by 600 picture.
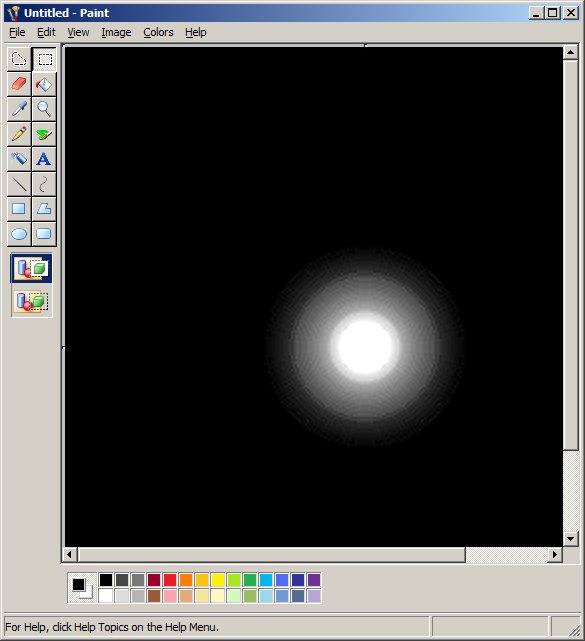
Now we repeat that blend process again with, oh...let's say 99%. (I really am just making up these numbers)
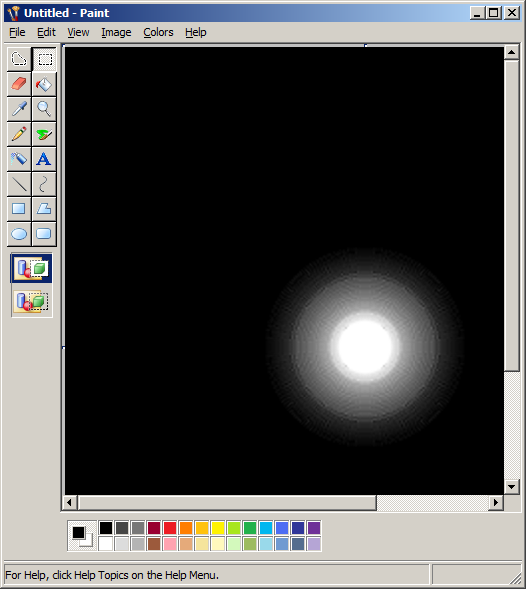
That actually didn't turn out that well, and I also notice that there's a sharp jump in luminence. Let's do the blend process by 80%.
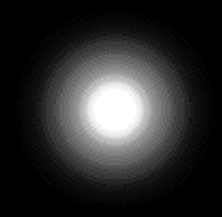
And then do it again with 90%.
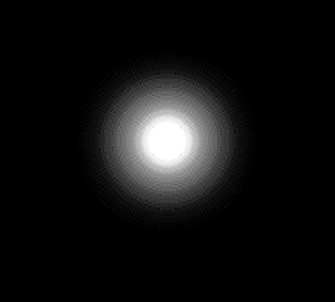
I guess it turned out OK considering we're only using MS Paint. This tutorial can be scaled up to any arbitrary size, but it does work well to round up to a nice round number as your canvas size. It makes the computations easier and you can always scale the image down at the end. You can also, of course, skew or stretch the gradient after you're done.
